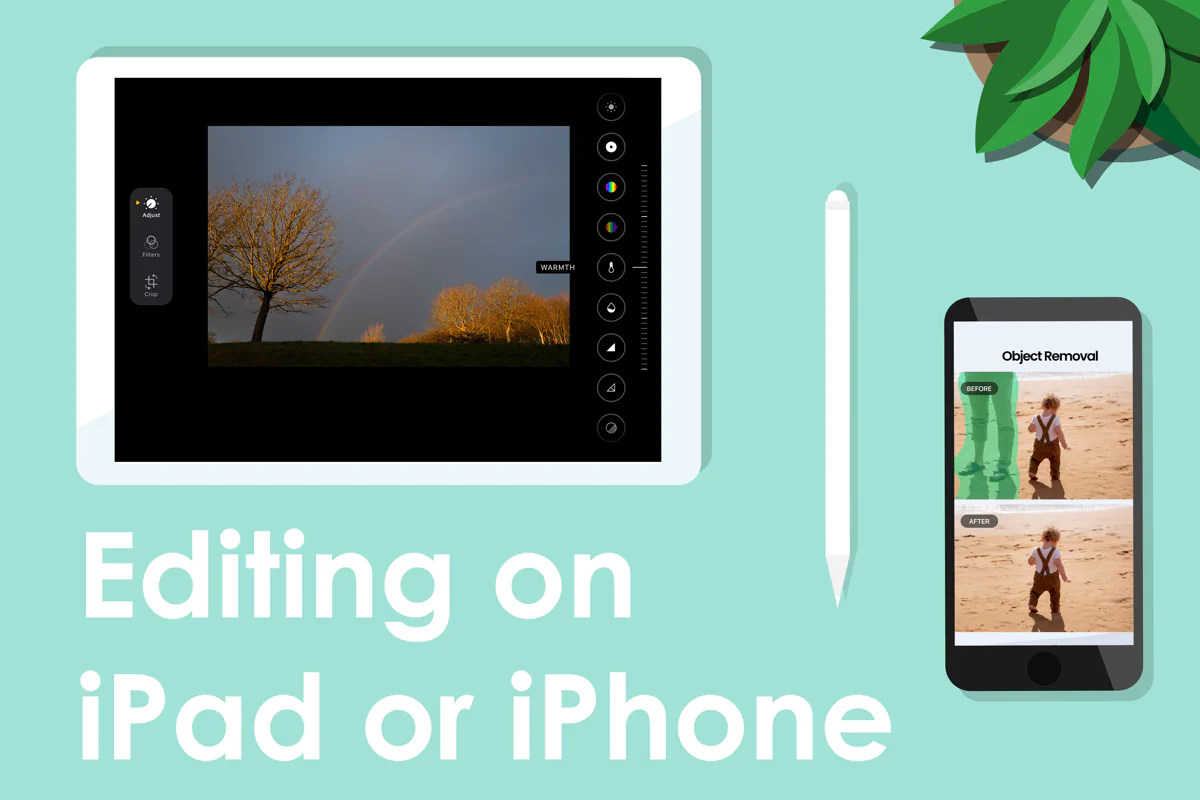
As a follow up to last week’s blogpost, where I used screenshots to show editing in the standard Photos app on a Mac, the video on this post is a recording of the same edits on an iPad. The process on the iPhone is exactly the same.
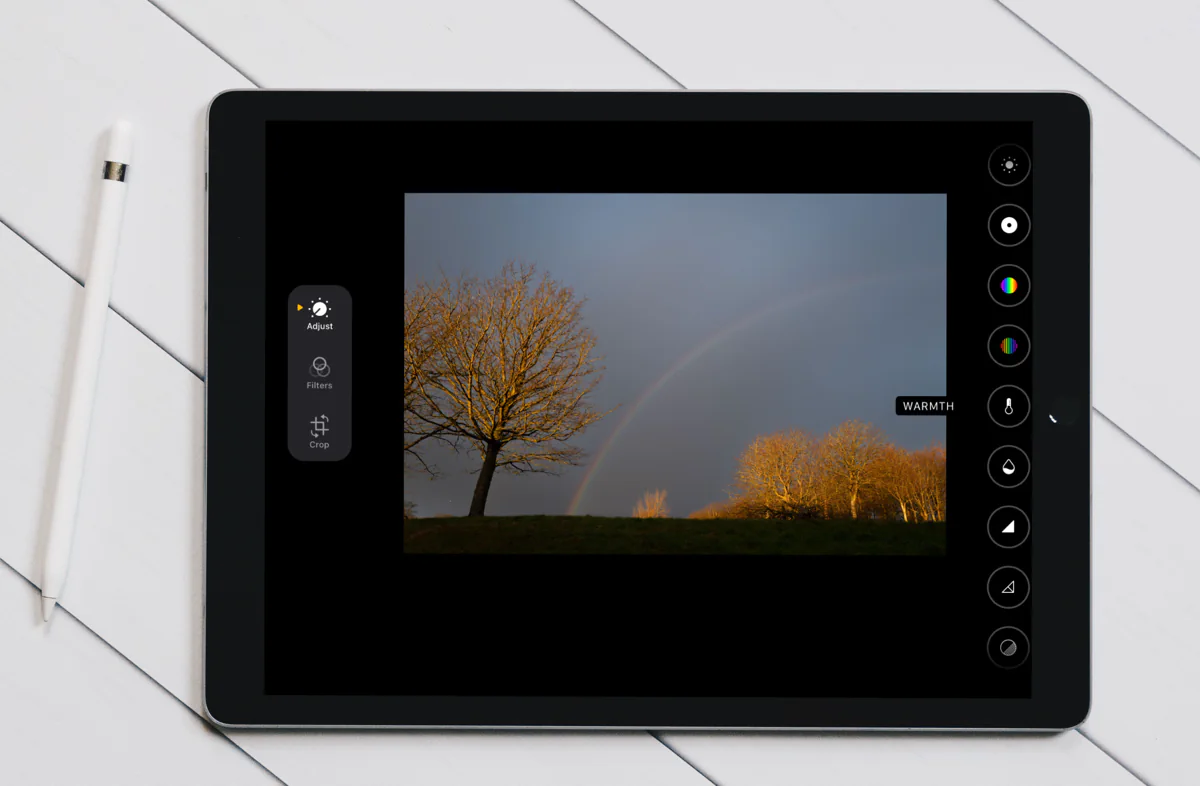
The touch interface of the iPhone and iPad is ideal for photo editing and the included Photos app offers a lot of adjustment options. In the video here, I only adjusted shadows and highlights but in the “Adjust” options there are 15 sliders to use. Exposure to let you lighten or darken, colour options to make images, warmer or cooler, with saturation and vibrance to boost or mute colours. You can also enhance sharpness, and definition, and reduce ’noise” in low light images, all using your finger on a slider control. There is no risk in experimenting as there is always the option to revert to the original image.
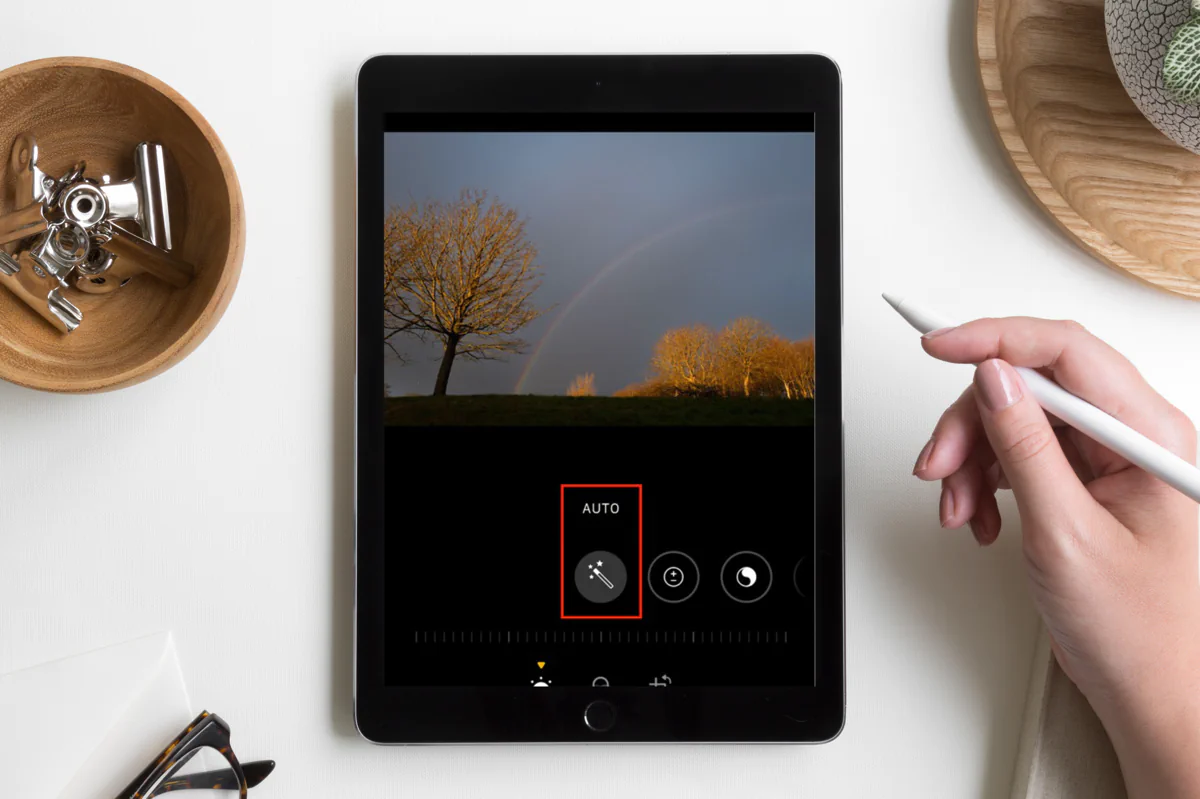
There is a very clever auto function that usually does a great job at enhancing your images with one click.
This is the easiest and quickest way to improve your photographs.
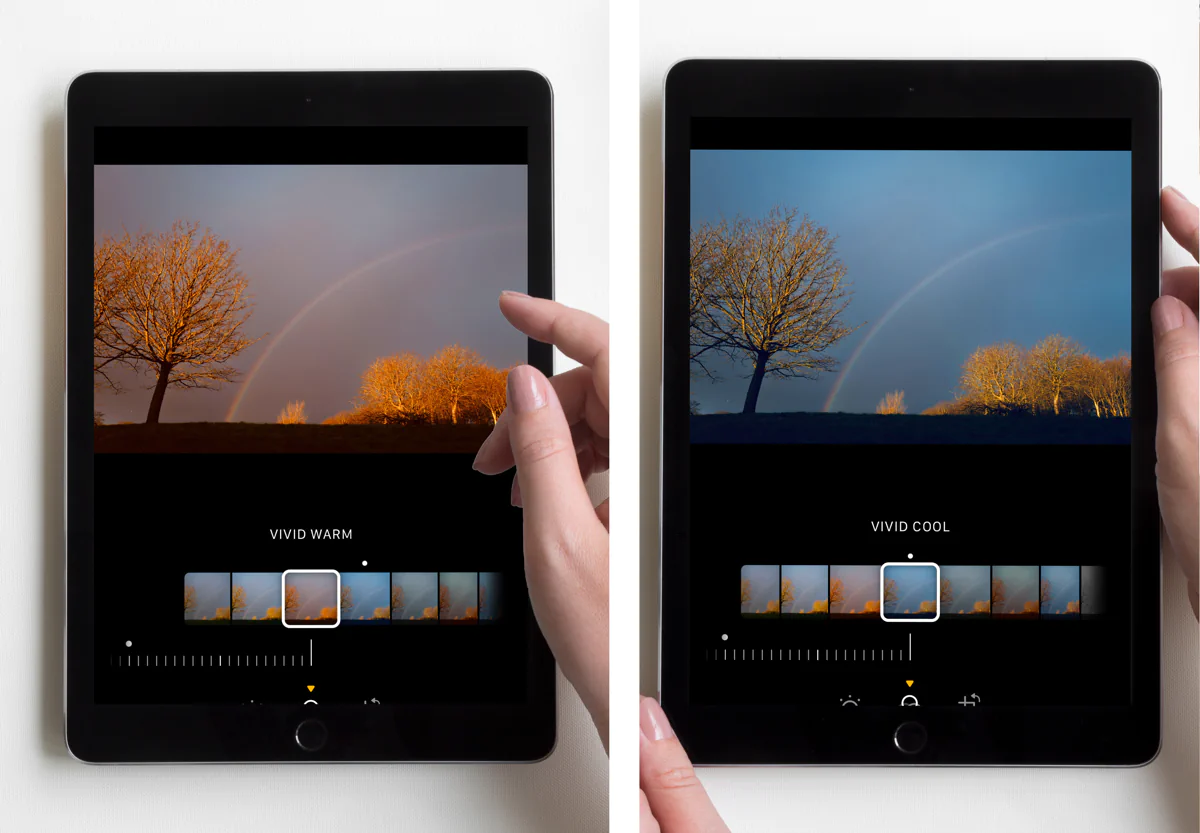
The next option is “Filters” and you can preview many options to choose from.
Retouching video
This video concentrates on the “crop” options. The title “Crop” is a little misleading as this also lets you correct perspective and straighten lines which the video demonstrates.
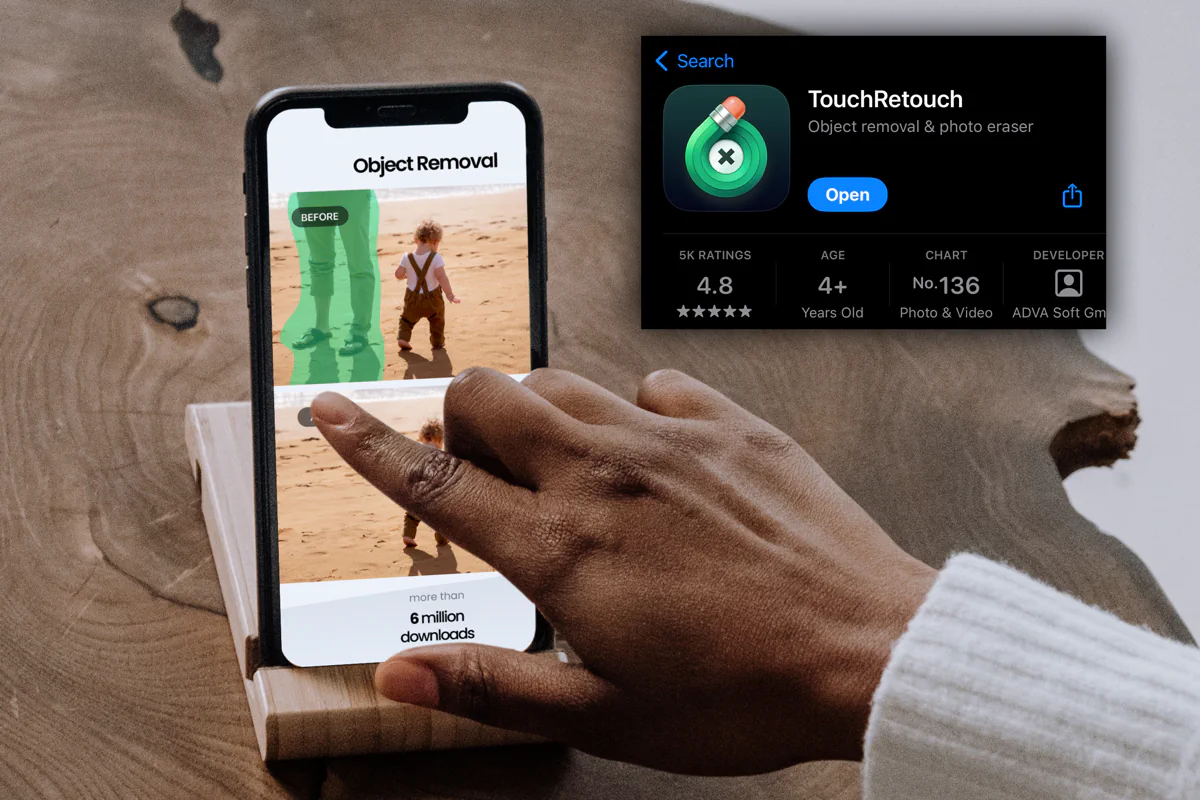
TouchRetouch
The only edit in the video that is not included in the standard app, is the removal of people which was done using an app bought on the App Store
For a very low cost, this app is a great tool to remove distractions, and integrates with the Photos app.
I hope this encourages you to open up your Photos and pick some images and see how you can improve them using the options available



Subscribe To Our Newsletter
Join our mailing list to receive the latest news and promotions.
You have Successfully Subscribed!